A couple months ago, I re-vamped my vintage pie cupboard. Since then, I have been obsessed with the fabric that I used in the doors. I just loved the weight and texture of the material, and the pattern was a modern take on a vintage design. This fabric is called Printed Duck and can be found at Hobby Lobby. It's not the most cost effective fabric out there, but if you are armed with a 40% off coupon, you are golden!!! :)
Click the coupon to be taken to Hobby Lobby's website.
Because I was so in love with this fabric, I decided to make matching placemats. This was my first attempt at sewing placemats, so I did not take pictures to make a tutorial (I have made placemats since then, so I will put a tutorial up at a later date).
So what else did I make with this amazing material? You guessed it... Napkins!!!
These were super simple to make and took very little time to sew... even for this beginner! They add a touch of elegance to our dinner table without costing much money.
These fabric napkins would be wonderful as a thoughtful homemade present for someone. They are sure to be a pleaser!!
Here's how I made them... A little disclaimer first: I in no way claim to be an expert sewer, so if my techniques are a little off, please forgive me! I am just a "slam bam thank you ma'am" sewer... hehe...
OK... here we go:
Start with a template. You can cut one out of cardboard or you can use a paper napkin to create a template. I actually used the paper napkin, but you can adjust the size of your template to make the napkins however big you would like them. I started out with a 14"x14" square.
Once I had traced my template onto the back of my fabric, I cut out my square.
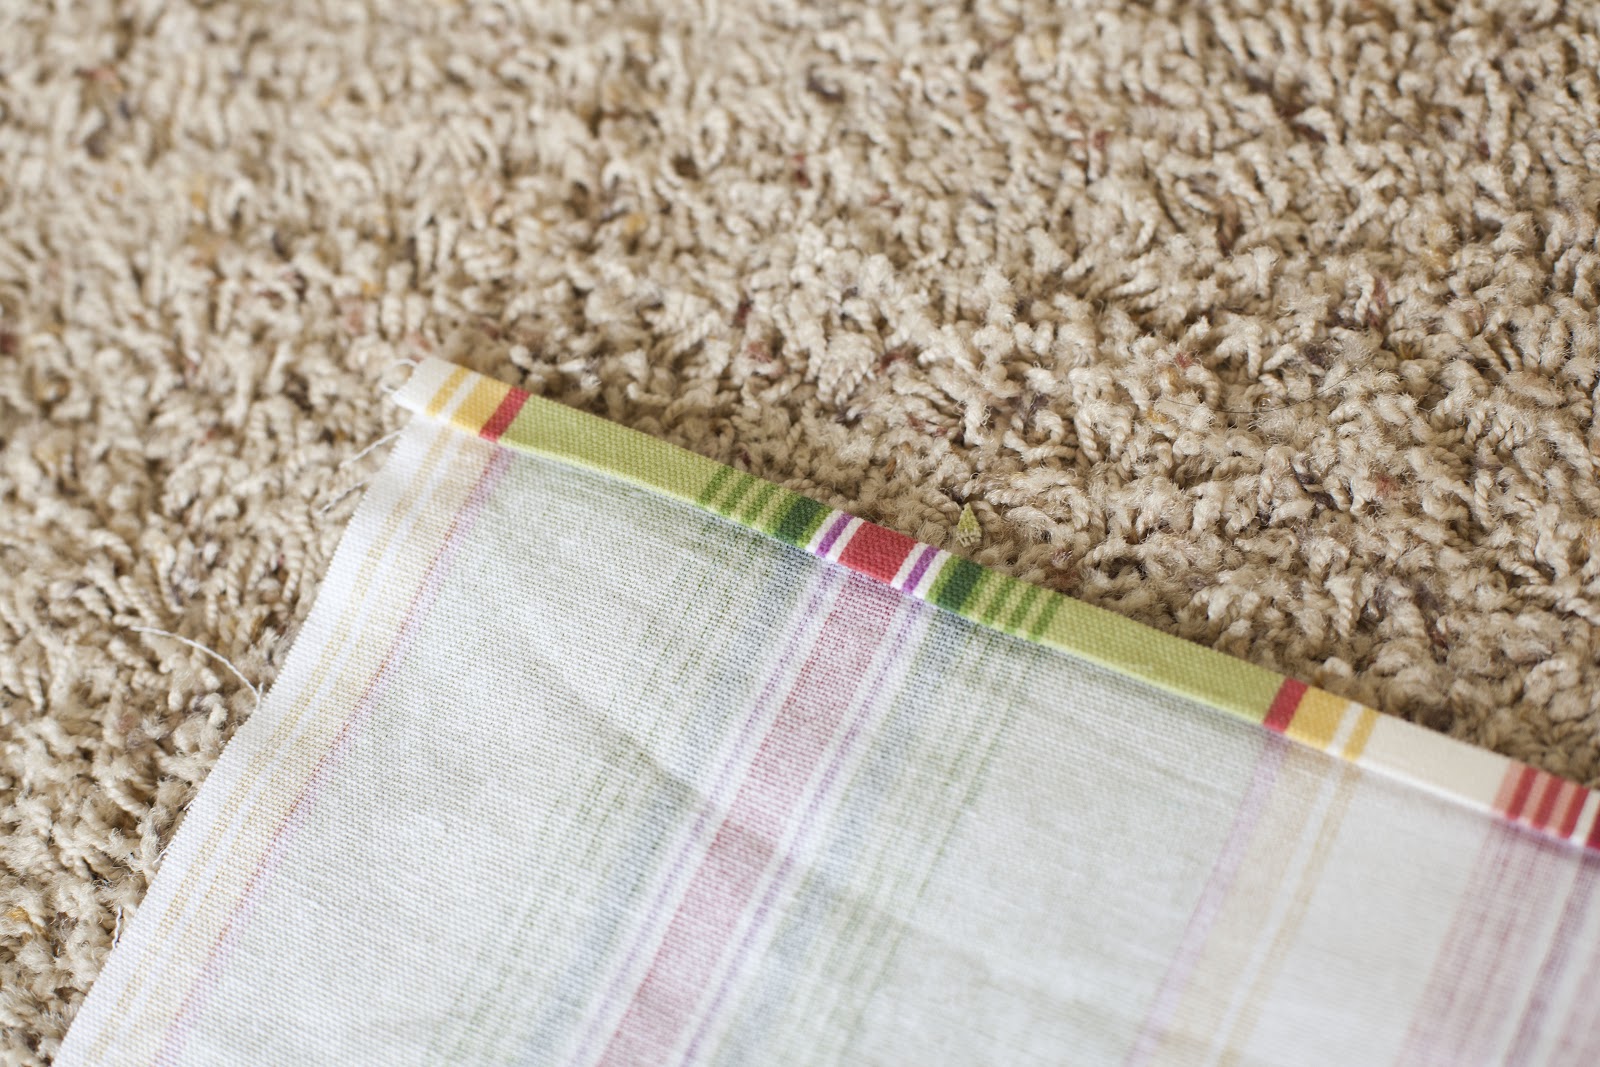
Using a ruler, fold one of the edges of your fabric to about a 1/4". Then spritz with water and iron it flat.
Once you have done this, spritz it with water again (this is to ensure a good crease) and fold the edge again. You do not want to see the unfinished edge after you have done this. Iron the edge flat again.
Now you get to sew! You will be sewing each of the edges individually. Sew across the entire first edge of the fabric.
Your next step is to repeat what I have shown you so far with the opposite edge. You do NOT want to sew the edge that is perpendicular to the edge you just finished, but rather, the edge that is parallel (or opposite) from the edge you just sewed.
Once you have completed these two edges, now you can complete the remaining two edges in the same fashion. When you are done with this, you will have cute little "square" stitches in the corners of your napkin.
Now wasn't that simple! Only takes a few minutes to complete each napkin once you get the hang of it. I can promise you, I will be making more of these soon. You may just be the lucky one to get a homemade present from me :)
The completed placemat and napkin combination... love!!!
Labels: Crafts, For the Home